How PAML scaffolds screencasts for students
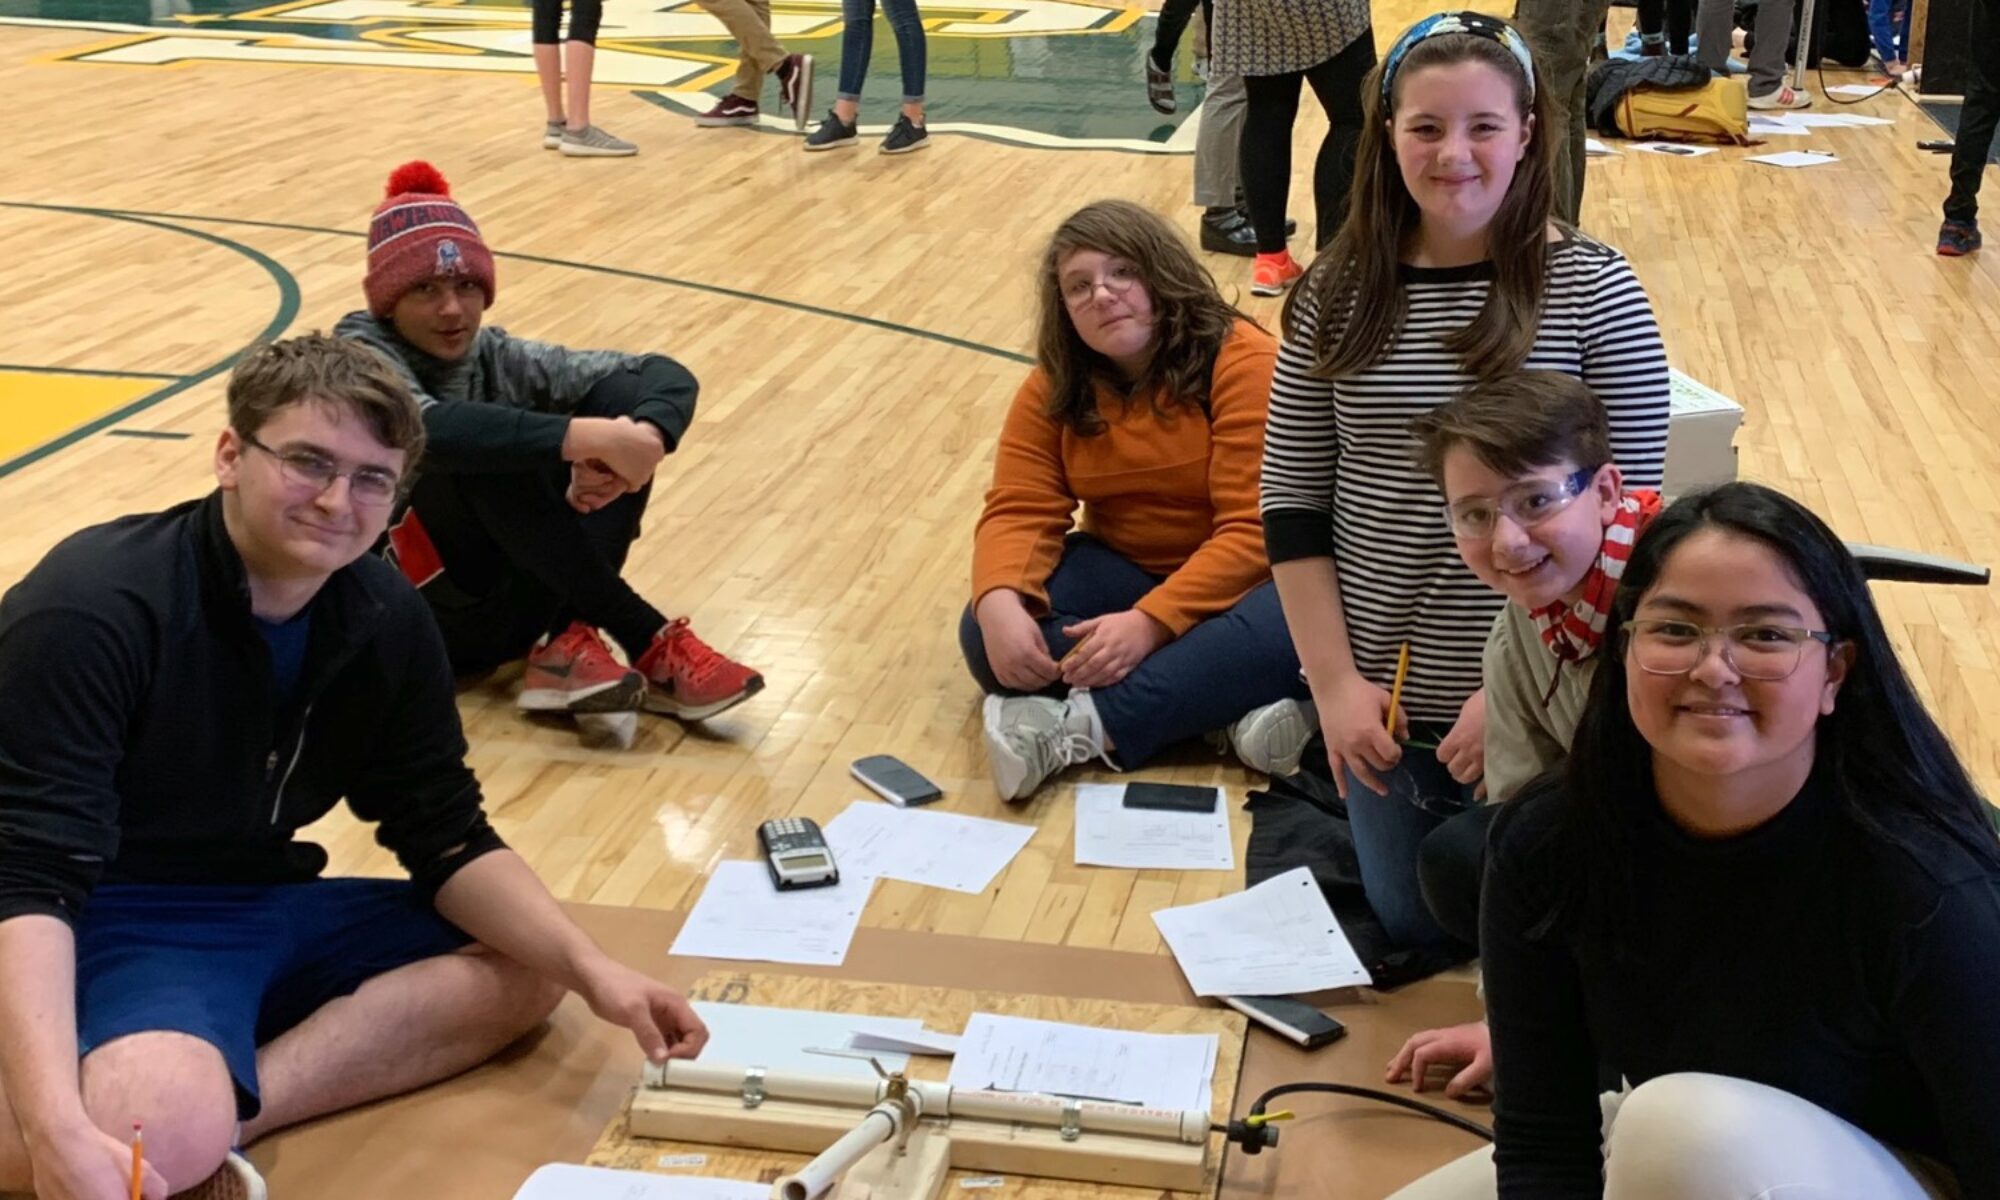
Students and their families at Peoples Academy Middle Level have participated in student led conferences for a number of years now. What’s new this year? The opportunity for each 5th and 6th grader to tell the story of their learning through video evidence and reflection. It’s these “Learner Story” videos they share at their conferences.
Let’s examine how one middle school in Vermont invites their learners to create video evidence and reflection for their PLPs. Now let’s see how Peoples Academy Middle Level fosters and supports this process that then re-feeds the PLPs in question.
The setup
Many Vermont educators facilitate identity building work at the start of the school year. They do so through teacher advisory and as part of Personal Learning Plan (PLP) development. Students explore the questions “Who am I?” both as learners and as integral members of their school community. Knowing students well means we are better positioned to support them on their learning journeys.
Yet, often this identity work stops after this initial back-to-school and PLP prep ends.
Enter: the student-led conference
A teacher-generated video example launches the project. Students consider how to meet the requirements of sharing learning aligned to clear targets from their interdisciplinary project-based work:
- Include at least 5-6 pieces of evidence from Expedition
- Explain in writing or speaking:
- What was the assignment?
- What did you learn?
- Did it meet a learning target?
- Explain in writing or speaking:
Expedition at Peoples Academy is an integrated studies course team taught by seven educators. Their driving question?
How Do Communities Thrive?
Students select evidence of learning to reflect on. And they *explicitly* link this evidence to clear learning targets. And they do it with video stories.
Izzy’s “Learner Story”
Spoiler: it’s a video.
Let’s jump right in to 6th grader Izzy’s Learner Story, below, then look at how the PAML educators support and guide students with the creation process.

Amazing, right? So good. So comprehensive and clear, and quite a few signposts guiding you through Izzy’s learning journey! (Btw, a big THANK YOU to Izzy and the PAML folx for sharing that video.)
Now let’s reverse-engineer it:
Check out the full slide deck PAML educators share with their students. It spells out how students should:
- review the learning they are engaged in;
- curate their evidence;
- and tell compelling visual stories of how they met shared learning goals.
It provides a solid foundation of instruction for getting students to sit down and think concretely about what to include in their videos.
(Grab yourself a copy of this fabulous resource by going to File > Copy.)
The slide deck asks students the following questions:
- What’s your story?
- What have we done?
- How are you feeling about your student-led conference?
- What do you need to include in your Learner Story?
- A link to your math and expo slideshow
- 5-6 pieces of evidence from Expedition (boom: examples!)
- What you learned
- Whether it met a learning target
- What are you proud of? What didn’t go so well? (Rose and Thorn protocol) What could you do differently next time?
And finally:
- What are you looking forward to next?
Format: keep it simple
Video evidence and reflection, as a term, can conjure up visions of 20-minute documentaries with a full cast and multiple dance numbers. And yet, PAML keeps it simple with screencasting.
Stop! Pedagogy time: focus on skills over tools
Sylvia Tolisano in her post 12 ideas for amplified forms of digital storytelling explains what she sees as a strategic choice to include video as a medium. In this way, digital “Learning Stories” amplify the learning because they tap into “previously unknown possibilities.”
“Documenting by capturing evidence of learning and sharing it in a strategic way allows for the development of a learning story. Take digital portfolios to the next level and go beyond the accumulation of disconnected artifacts to curate strategic evidence of learning. Create connections (chronological or non-linear) between them. Make reflections and metacognition (the thinking about your thinking) visible. Make your learning process and your growth visible. The learning story can become an inspiration for others, when you share and make your learning trials, obstacles and mistakes visible to others. The act of documenting and telling your learning story can become an integral part of the process of learning itself.”
Peoples Academy teachers value both the process and product.
Students revisit, reflect upon, and synthesize their learning as they create these Learner Stories. In this way, teacher advisors say they’ve learned so much about the students in their advisories simply by watching the videos as they help students prepare for conferences.
Multiple ways to create Learner Stories?
Check out Richard Byrnes’ list of digital storytelling resources for your students to share their Learning Stories.
(Want to know more about Student Led Conferences? We’ve gotcha covered. Plus, check out Katy Farber’s Padlet.)
Now, how might you create opportunities for all learners to reflect on and represent their growth through digital storytelling?
 Rather than creating a unit on the Civil War, imagine working with an individual student or small group on a topic that fully engages them, but might be something you know little about. First we looked at
  Sixth graders at The Dorset School in southern Vermont are in their second year of working with Personal Learning Plans (PLPs). These exuberant adolescents have fond memories of one experience. Last year, these students were paired with teacher Amanda Thomas. Mid-way through the year of working with her students on PLPs, Mrs. Thomas realized that their PLP work was falling flat; she had to do more to involve them.